Simple tassel

Difficulty: 1
Technique: stringing, eye pin linking

Earrings made from PRECIOSA Solgel seed beads

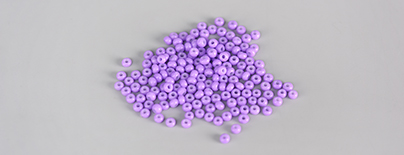
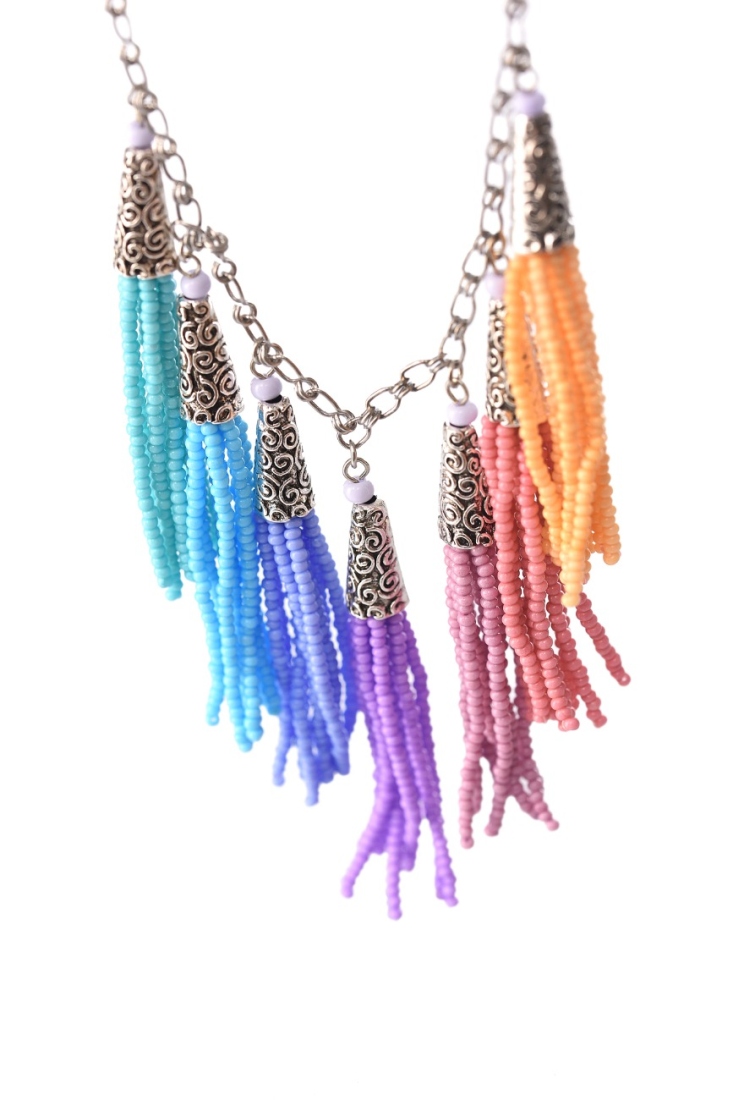
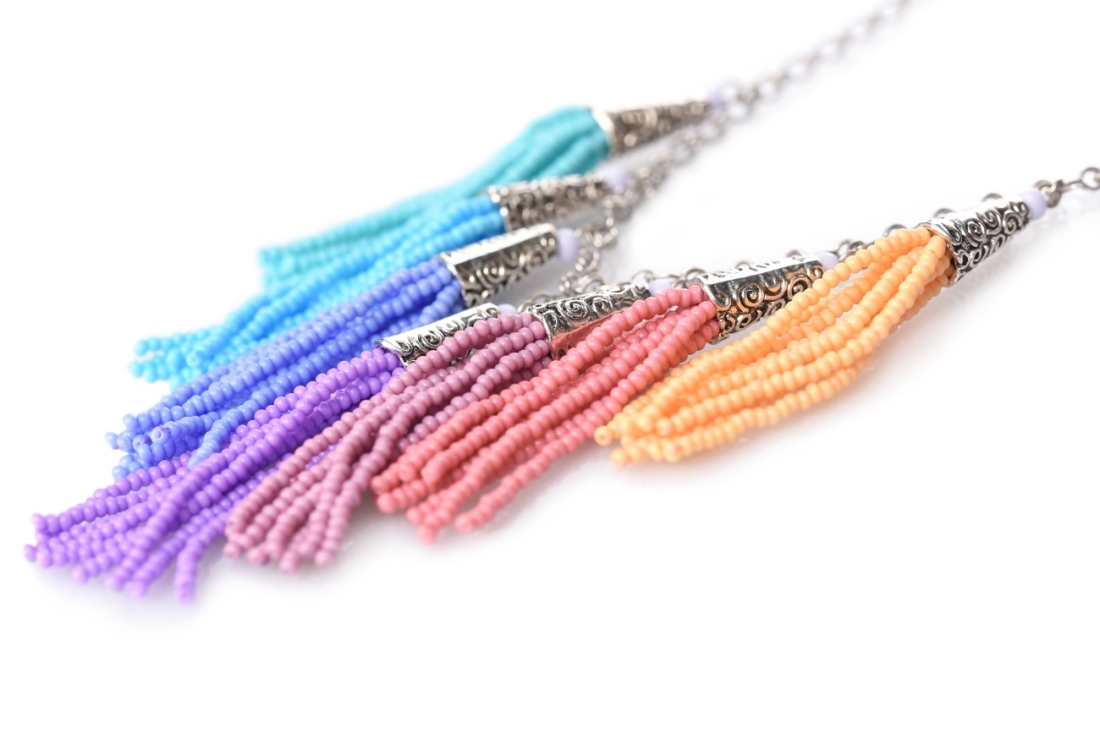
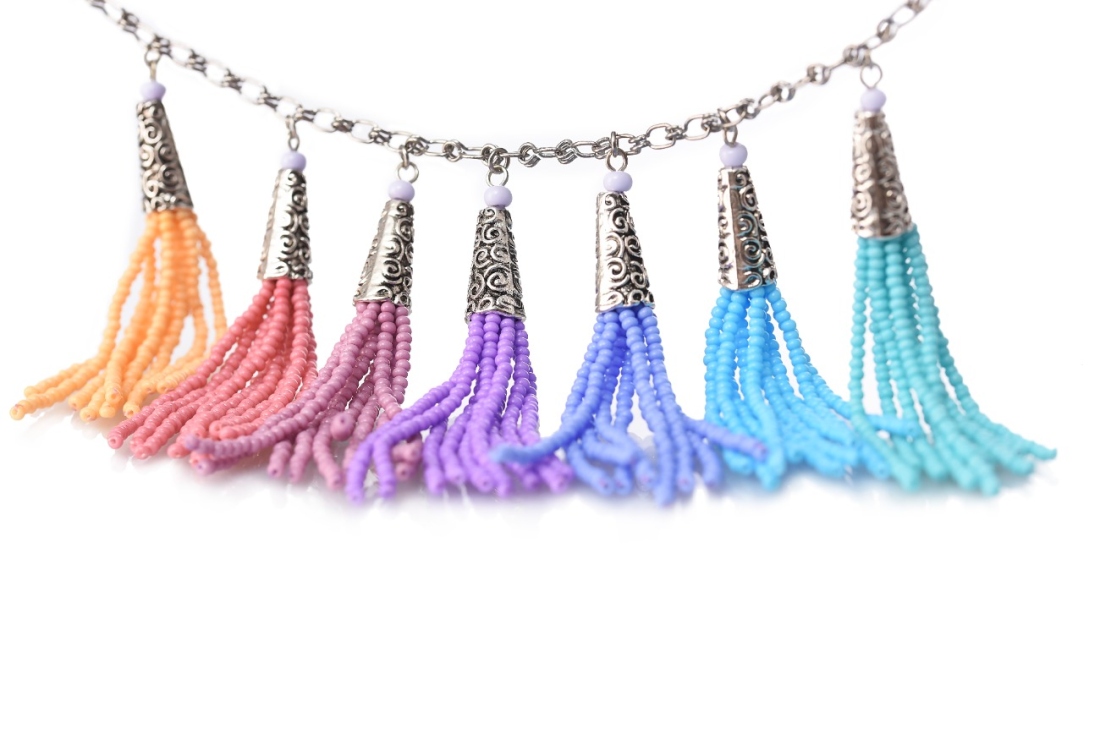
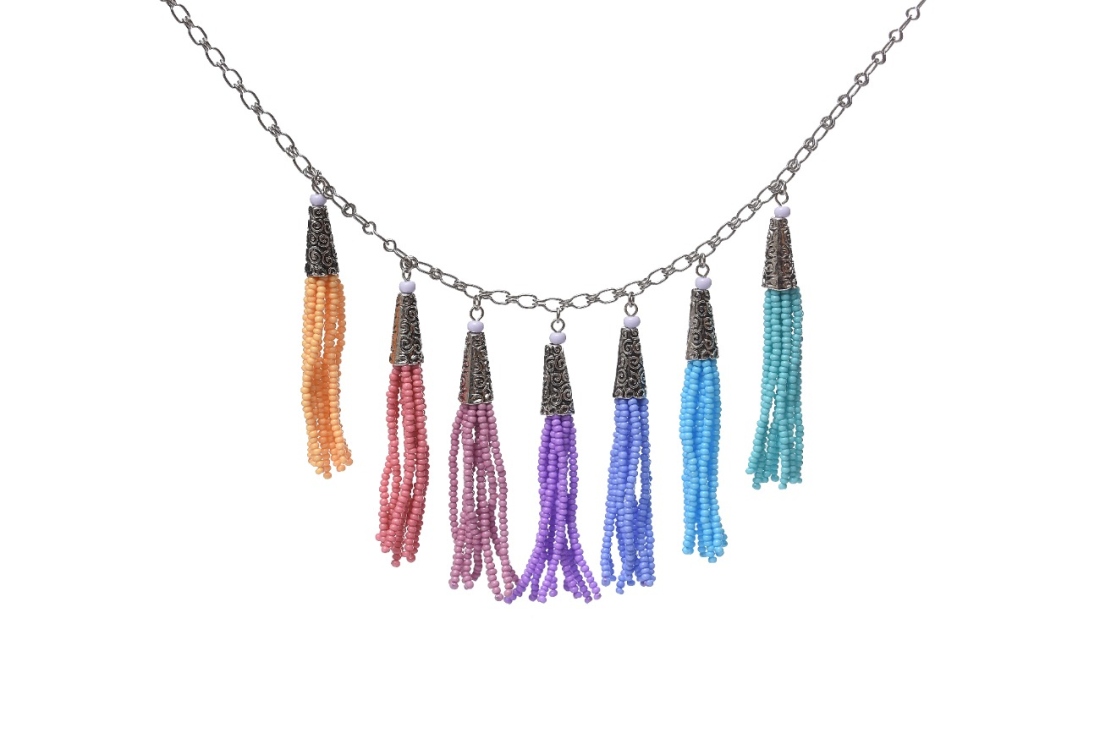
Adorn yourself with a pair of distinctive earrings. Use the color range provided by PRECIOSA Solgel to create seed bead tassels which will not only look great as earrings, but also as a necklace.

Ambassadors

Helena Chmelíková

She is able to switch from luxurious and extravagant fashion show pieces to the preparation of hobby projects,
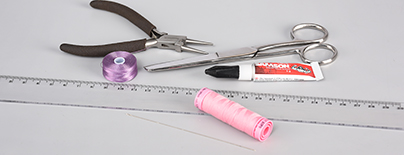
Learn More

Material and Tools

Tools

A thin needle; a nylon line, for example LI04 (for the R1); scissors; tailor's thread (a thread loop); a ruler; needle-nose pliers (or snipping pliers and pliers with a rounded point); liquid super glue

Materials

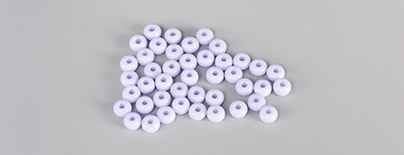
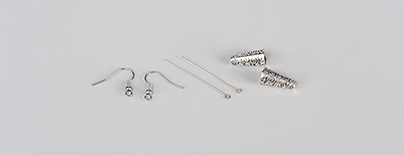
Caps – 9 x 18 mm end pieces for a cord (an internal diameter of 6 - 7 mm); an eye pin that is 30 mm long or longer; earring hooks

Procedure

Step 1

Prepare a large thread loop in the needle. Cut off about 15 cm of the tailor's thread. Thread it through the eye of the needle. Tie a regular knot. Move the knot to the side of the thread loop.

1 / a

Step 2

Cut off about 50 cm of line to string the R1. Thread the line through the hole in 1x R1. Move the R1 to the middle of the line. Place both halves of the line next to one another.

2 / a

Step 3

Insert the doubled line into the thread loop. String 4.8 – 4.9 cm of R1. The total length of the tassel will be around 5 cm, including the 1st R1. You can pour out 5g of R1 onto a mat. Scoop the needle into the pile. The R1 will move onto the needle by themselves. Occasionally mix up the pile.

3 / a

Step 4

Repeat Steps 2 and 3 another 8 times. This will result in a total of 9 tassels.

4

Step 5

Place all the tassels next to one another. The R1 should be placed close to one another. The last R1 in each stringing should be in a line with the others in each tassel.

5 / a

Step 6

Pick up all the tassels from the mat together. Tie all of the lines together with a regular knot. Create a loop and thread all the ends of the line through it. The knot should be located immediately behind the R1 after tightening. Apply a drop of super glue onto it. Leave it to dry. Cut off the ends of the line about 3 mm behind the knot.

6 / a

Step 7

Open the eye on the eye pin. Slide it onto all the lines, between the knot and the R1. Close the eye – crimp it. Twist the eye pin upwards just behind the eye.

7 / a

Step 8

String the hole of the cap and 1x R2 onto the eye pin. Shorten the protruding wire to 0.8 - 1 cm. Grip it between the points of the round pliers. Twist it around the point. Gently twist it back at the edge of the hole in the R2.

8 / a

Step 9

Hang an earring hook onto the created eye.

9

Downloads

This website is using cookies

To improve our services and provide information that suits your interest, we use the advanced website traffic analytics tools. However, we need your consent. More information about how we process and protect your data can be found in the privacy statement. We ask you for approval of the terms.

Functional cookies These cookies are necessary for the proper functioning of the website and therefore cannot be turned off.
Analytics cookies Analytical cookies help us track and analyze the way visitors interact with our site in Google Analytics 4. This information allows us to improve content and provide a better user experience.
Marketing cookies Reading and writing cookies for marketing purposes for advertising systems such as Google Ads or Sklik. These cookies allow us to track user behavior and measure website performance and the effectiveness of our advertising campaigns.
Personalized advertising Remarketing cookies allow us to present you with personalized advertising based on your previous interactions with our site in systems such as Google Ads, Sklik.
Use of personal data With this option, you consent to the sending and processing of your personal data to Google for the purposes of targeting and evaluating online advertising and targeted marketing.